 Schedule a demo of LiquidPlanner with a product expert today

Visit your profile settings as soon as you join a workspace to make sure your profile is set accurately and upload a profile picture so your team can easily see who you are. To update your profile, first open the User Menu.
The User Menu
Click on your profile photo in the top right-hand corner of the workspace to open the User Menu.
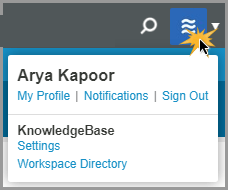
Then, to access your profile page, click on My Profile.
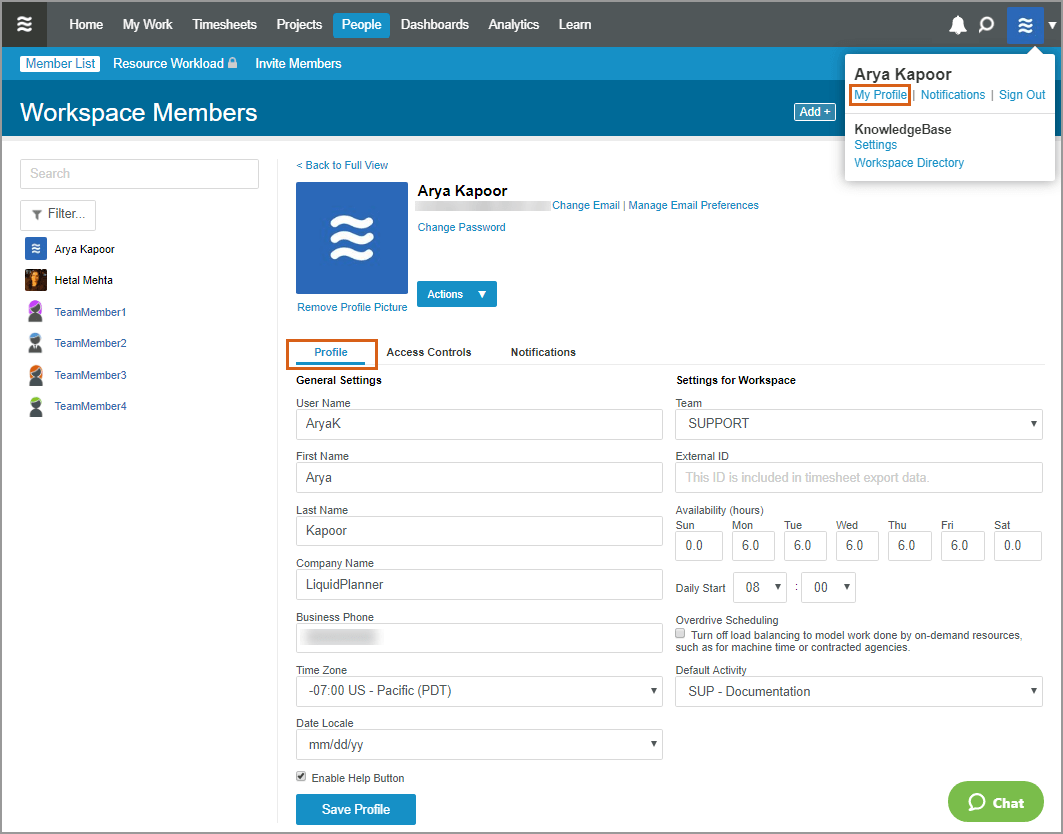
General Information
You’ll find the usual suspects here:
- Email Address – click the change link to change your email
- Password – click the change link to change your password
- First Name, Last name
- User Name – this is the name that appears on the data you own and edit in the workspace. It also is used for addressing comments and notifications.
- Company Name
- Business Phone
- Timezone
- Date Locale – choose a preferred date format
- Profile Photo – browse to locate and upload a photo. Photos are cropped to square dimensions.
- Team – open the drop down menu to add or change a team assignment.
- External ID – you can enter a free-text ID for use in reporting.
- Overdrive Scheduling – use overdrive to model work done outside your team.
- Default Activity – select a personal default activity to automatically populate when you track time.
Availability
- It’s important that your availability is accurate, because LiquidPlanner references it when calculating the start dates for your tasks. LiquidPlanner will never over-book you! It will simply push out your task start dates as necessary to respect your availability.
- Your availability setting should reflect the number of hours that you’re available for LiquidPlanner project work each day. For example, if you work an 8 hour day, but spend 2 of those hours on work that is not represented in LiquidPlanner, then set your daily availability to 6 hours.
- A change to your availability setting will affect the dates for all of your future work. To capture temporary periods where you won’t be available at all, do not adjust this setting – create an Event instead.
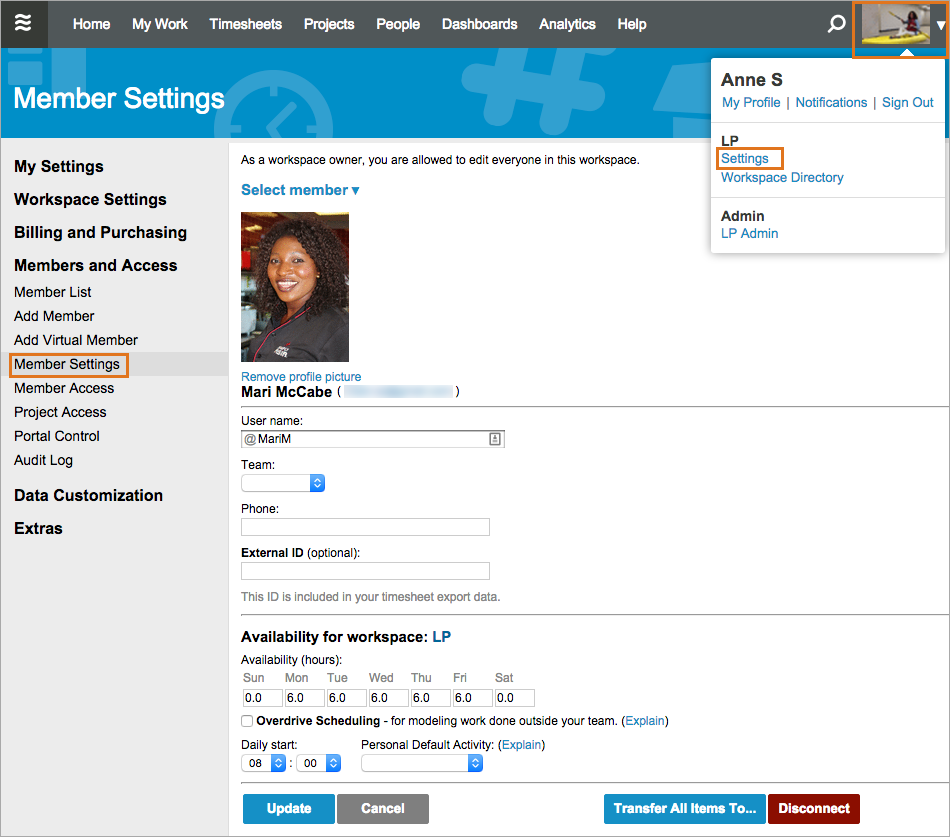
- Workspace owners and administrators can change availability for other team members via the People page.
Administrators
Administrators can change a member’s user name, time zone, business phone, team, external ID, availability, daily start time, overdrive status, and default activity, as well as remove their profile picture.
Email Notification Preferences
Don’t forget to visit your Notifications page to set your email notification preferences. Email notifications are sent from your LiquidPlanner workspace to keep you informed of upcoming work and changes to existing work.
Enable Help Button
Use the help button to contact our Support team from just about anywhere in the workspace. Live support is available Monday through Friday, 7am – 5pm Pacific time. Unchecking the box removes the button from your view.
Related Articles
Your Personal Notification Settings
Events
Checklists
Adding Members to Teams
Availability