 Say hello to the new Tempo! LiquidPlanner is now Portfolio Manager.
Actual start and done dates for each plan item are captured automatically by LiquidPlanner and displayed in the plan item’s Edit Panel.
- These dates are recorded automatically for you, but you can update them manually if necessary. The exception is that you can’t manually update a container’s (project, sub-folder or package) Started On date, since it is calculated from a task within the container.
- Both dates are captured in plan exports, whereas timesheet exports capture only done dates.
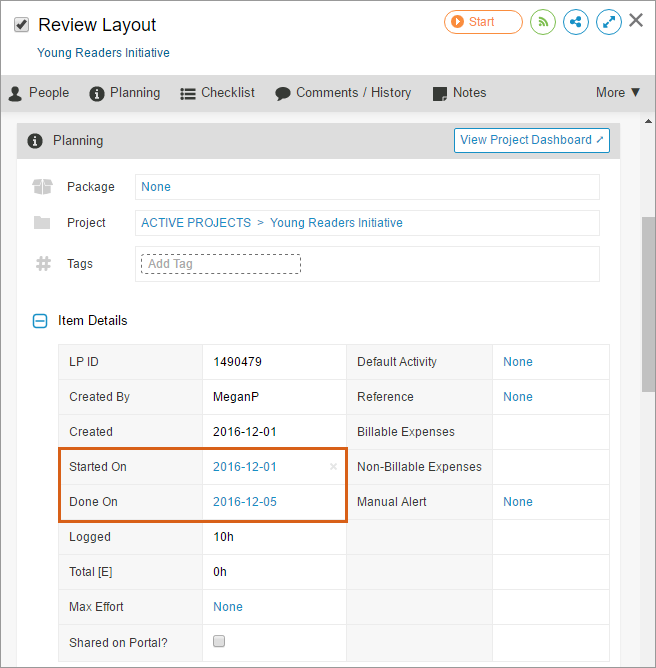
Started On
- The default Started On date for a task is the date that progress was first logged to that task. You can override that date if necessary.
- The Started On date for a container (project, sub-folder or package) is derived from the earliest start date in the container. This could be the first date progress was logged to a task, a milestone date, or the start date for an event.
- When there are only tasks in a container, no actual start date will display for that container until time is logged to at least one of the tasks.
- The Started On date for a container can’t be edited because it is required to remain in sync with the earliest Started On date for any task in that container.
Keep in mind that the Started On date field is not a way to control the scheduled start date for the remaining effort of a task or container. The scheduled start dates for remaining effort are calculated for you using LiquidPlanner’s priority-based scheduling methodology.
Done On
- The Done On date for a task is the date that the task is marked done.
- The Done On date for a container (project, sub-folder or package) is the date that the container itself is marked done. (Note that LiquidPlanner does not automatically mark a container done just because all tasks within that container have been marked done.)
If you want to set a past done date, check the “Done” box and then reset the Done On date field before you refresh the page. If you happen to refresh before resetting the done date, your done item will drop out of view. In that case, you’ll just need to bring the done items into view by changing the status filter from “Active Items” to “All Items” or “Done”.
Related Articles
The Edit Panel
Priority-Based Scheduling
Exporting Projects and Tasks
Exporting Time Tracking Data