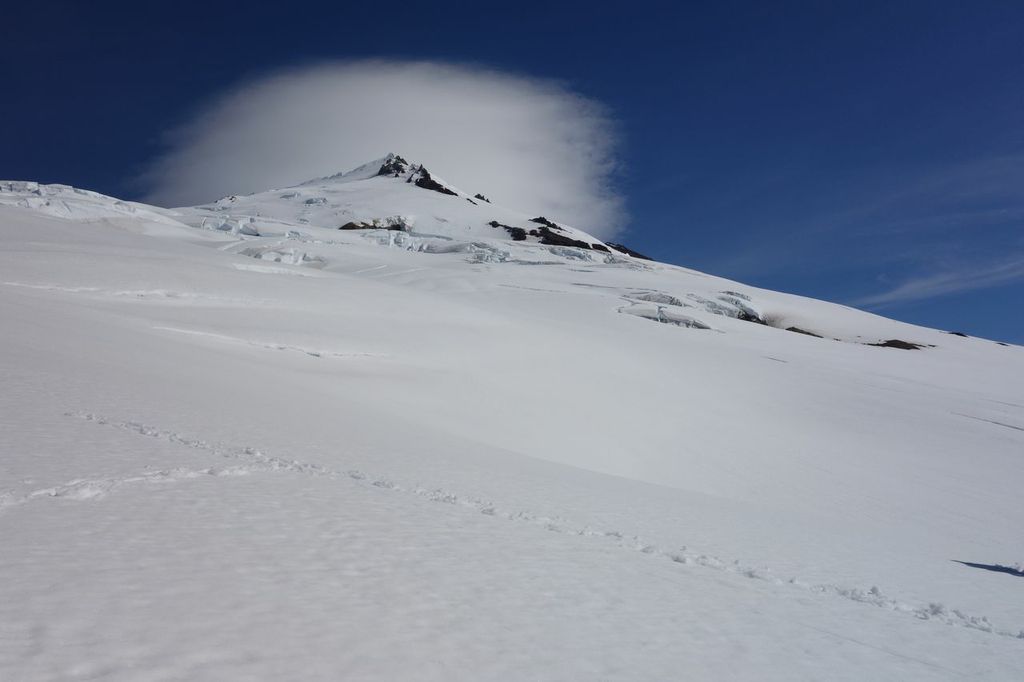
I recently completed my first major mountain climb: a summit of Mt Baker, the third highest peak in Washington and an active glaciated volcano. Planning for a climb can be a pretty daunting task and requires a well-thought out plan like any other project. Your safety and the safety of your team depends on it!
Here are some tips to make your trip prep go smoothly:
Take a class or find a good guide
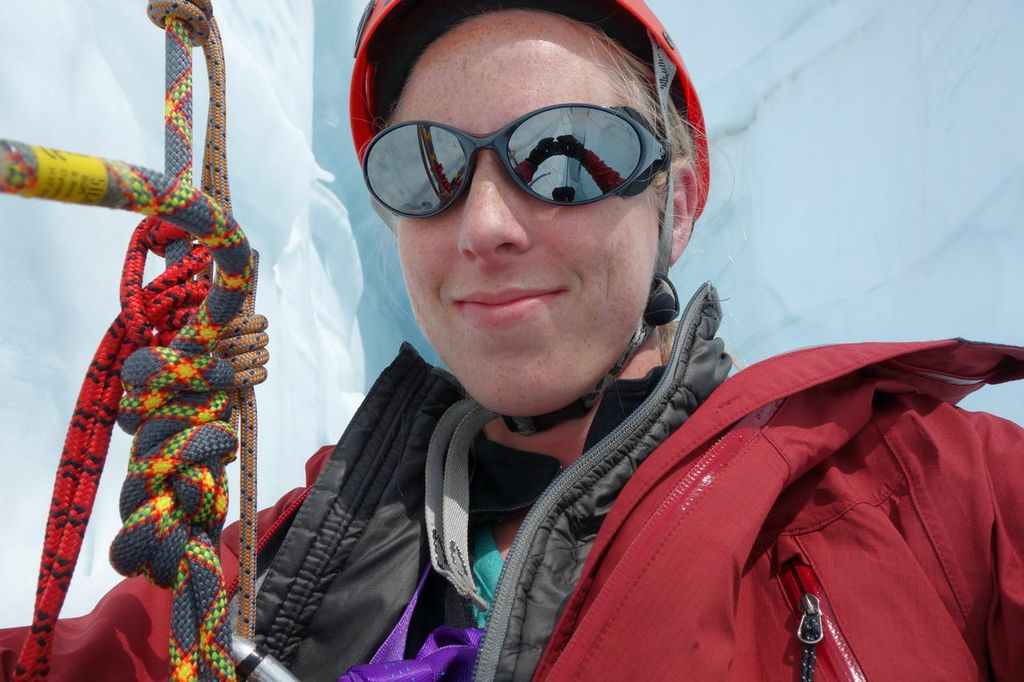
Climbing is dangerous. If this is your first foray into glacier climbing (as it was for me), you need to learn how to be safe. Practice rescue procedures so when an accident happens, you’re prepared. Call an outdoor retailer to find your way to some good classes and resources, and an organized group to climb with.
First, make a checklist …
I couldn’t imagine packing without making a checklist. There’s way too much to remember. You can find basic checklists on the Internet (or from your class instructors) to start from, and then make modifications as necessary. The American Alpine Institute has an extensive equipment checklist, which includes easy-to-forget items like earplugs and lip balm. Think about what items are required for you to be comfortable, especially while sleeping. I personally have trouble keeping my feet warm at night, so down booties for the tent were an additional necessity.
.. and then, pack wisely
This is tricky. You don’t want to carry around extra weight, but you don’t want to forget anything that could potentially turn around your whole team.
Keep in mind that the type of gear you want will be dependent on the type of climb you’re doing. For example, longer ice axes are great for more gentle slopes, while a short ice axe might be preferred when venturing onto something steeper. Similarly, chillier climbs might call for plastic mountaineering boots (especially if you get cold feet), but for warmer outings, leather boots might be more comfortable. Renting or borrowing gear during your training period is a great choice if you want to try out different options before committing to a purchase.
It’s also definitely worthwhile squeezing in a few extra “comfort” items, if you have the space, such as:
- Handy wipes — great for an improvised shower after a difficult day.
- Fleece-lined stuff sack — turn it inside out, stuff with extra clothes, and you have a pillow!
- Ear plugs — the wind can get loud, and so can your tentmate’s snoring.
- Comfy clean clothes and shoes for the car afterwards — Nothing feels greater then kicking off wet boots in exchange for flip flops. Let those stinky, tired feet breathe.
Prepare your meals
I usually like to create a meal plan for each day that I’m out. Dehydrated meals are a great option for quick dinners, however they’re relatively expensive. Make sure to include lots of high-calorie snacks that can fit in your pockets so you can eat on the go. My favorites are salami, sugar-covered fruit snacks, peanut M&Ms and almonds. Remember, you lose lots of salt while climbing, so higher sodium consumables are now your friend. Don’t forget waterproof stuff sacks for your food. Depending on where you’re going, you may want to bury anything that could attract critters in the snow.
Sort out the group gear
Make sure that all of your teammates know what they’re responsible for bringing ahead of time (tents, ropes, stoves, shovels). We discussed this in person and then sent out a reminder email shortly before the climb.
Bring an easy-access camera
I like to keep a nice point-and-shoot camera easily accessible while I hike and climb. However, we’re all human, and humans wearing bulky gloves tend to drop things down glaciers. I keep the little guy attached to me at all times. Here’s a tip: Find a bag that will provide some protection from the elements. Attach the camera to the bag via the camera strap, and then attach the bag to your harness or pack strap with a locking carabiner. Now it’s impossible to drop!
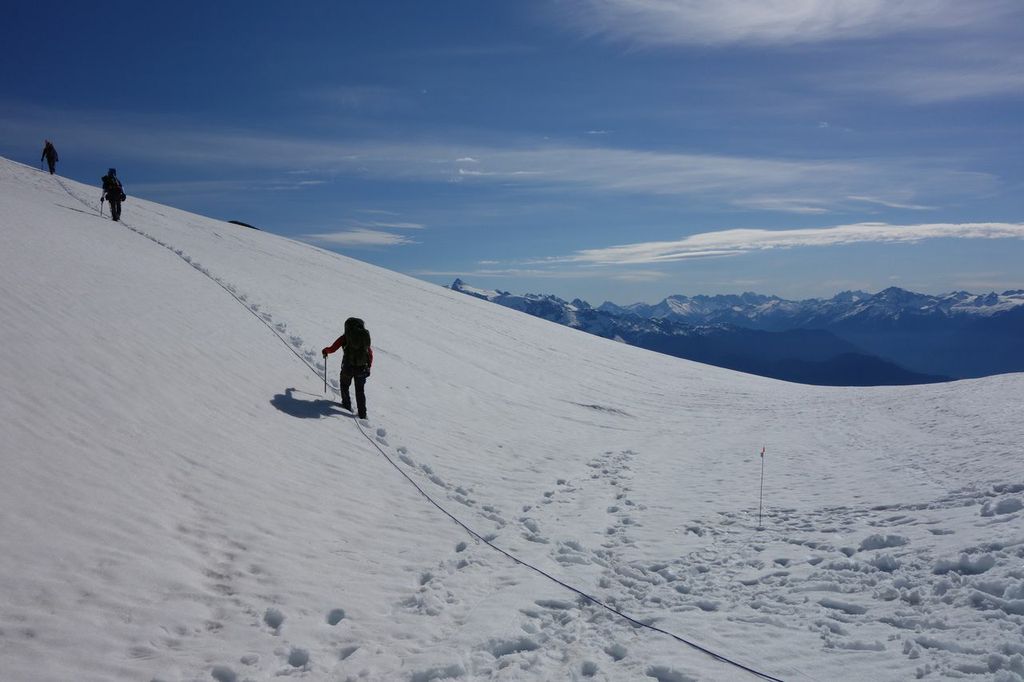
Plan your route ahead of time
Find a good topographic map of your area. Plot waypoints, take bearings, estimate travel times, and mark potential hazards on your map. It’s much easier to do this prep while on the couch rather than when you’re outside, potentially stuck in bad weather. Do a web search for recent trip reports written by other climbers, and don’t forget to purchase a permit if one is required.
Overall, my climb prep and planning worked out well. I managed to keep myself comfortable, warm, hydrated and well fed. However, there were a few things I would have done differently.
Here were my top lessons learned:
- It can be easy to underestimate the impact of the sun. Although I applied a high SPF sunscreen a few times a day, I still ended up with a bad sunburn. My lip balm was inaccessible on summit day, and my lips got scorched. Next time I’ll bring an extra tube of lip protection and opt to wear a sunhat or cover my face with a bandana or buff.
- Keep your stuff organized with stuff sacks and Ziplocs. I did a pretty good job with my clothes and gear, but not so much with my food. Having my meals and snacks organized by day would have saved some time and stress in camp, too.
- Jumper cables. Make sure someone in your group has a set of them in their car. One of our teammates had a dead battery when we made it back to the car, and no one had a set. Luckily we found a pair at an open gas station 30 minutes away, but it could have been much worse!