 On-time, every time: Supercharge your project delivery with the Portfolio Manager + Jira integration
 Project and Package Templates are a great way to add work fast and maintain uniform project structure. A Project Template creates a single project while a Package Template can include multiple projects. This lesson explains how to access Project and Package Templates from the Templates Collection while working in Scheduled, Pending or Archived Collections. Templates are set up and managed in the Templates Collection.
| 1 |
Project and Package Templates in Portfolio View # |
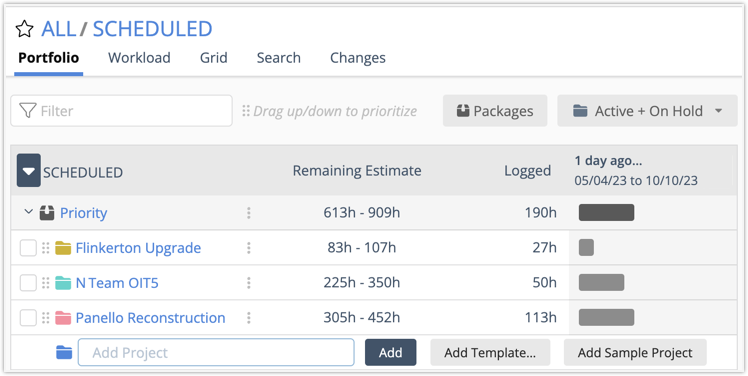
Projects and Packages can be added in Portfolio View. To select a Project Template use the Add Template button at the bottom of the project list. Click into the Add Project field to reveal the Add Template button. For a Package Template, click the Packages button at the top of the Portfolio view.
Adding projects requires Project Manager access or higher on the package where you’re adding the project. To add a Package you need Project Manager access at the workspace level. Defining access by package or project is available on the ULTIMATE Plan.
Set Target Dates and Member Access (ULTIMATE Plan only) after the new plan items are created.
Read about settings and fields that carry over from the template . . .
The following settings and fields are carried over from templates to the new plan item. Open the plan item edit panel to make changes.
| Package Template Settings & Fields | Project Template Settings & Fields | Task Template Settings & Fields |
|---|---|---|
| Package Name | Project Name | Task Name |
| Description | Description | Description |
| Notes | Notes | Notes |
| Work Limit | Work Limit | Work Limit |
| Scheduling Limits | Scheduling Limit | Scheduling Limit |
| Custom Data Fields | Custom Data Fields | Custom Data Fields |
| Files | Files | Files |
| Package Color | Project Color | Task Schedule Status |
| Rate Sheet | Assignment Scheduling | |
| Assignment Name | ||
| Assigned Member, Resource or Placeholder | ||
| Assignment Estimates | ||
| Project Dependencies within the Package | Task dependencies within the Project |
| 2 |
Add Projects from Templates # |
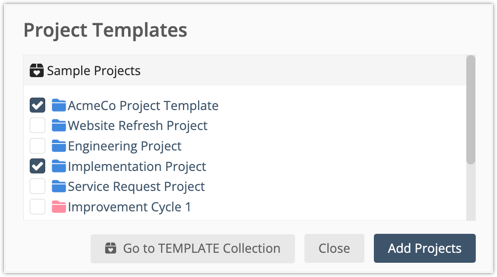
Projects can be added to a Package from either the Portfolio View or a Package View. Click the Add Template button at the bottom of the project list to open the Project Template modal. Check boxes to select Project Templates.
Add Projects creates new projects in the selected Package.
Go to TEMPLATE Collection takes you out of the current view and into the TEMPLATES Collection.
Close returns you to the Portfolio view without adding anything.
| 3 |
Add Packages from Templates # |
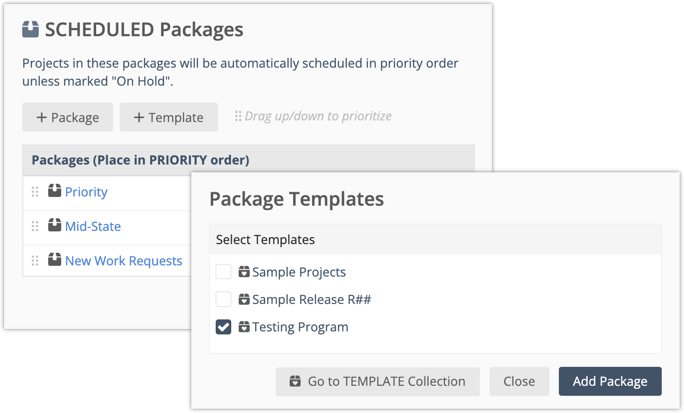
Packages are added from Portfolio View. Click the Packages button at the top of the view to open the Packages modal. Use +Template to access Package Templates. Check boxes to select Package Templates.
Add Package creates a new Package, including all its projects.
Go to TEMPLATE Collection takes you out of the current view and into the TEMPLATES Collection.
Close returns you to the Portfolio view without adding anything.
Read about changing Package order before returning to Portfolio View . . .
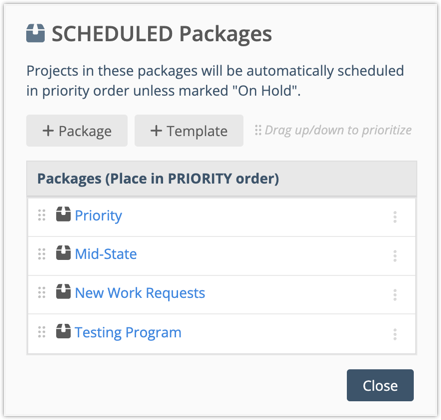
The new Package is added to the bottom of the list. If it needs to move up in priority, use the drag handles on the left to change package order. Keep in mind that moving a Package up in priority could change the schedule dates for everything below it.
Close the package modal and return to Portfolio View to review the new Package and its Projects.
| 4 |
Use the Bulk Editor to update Task fields and assignments # |
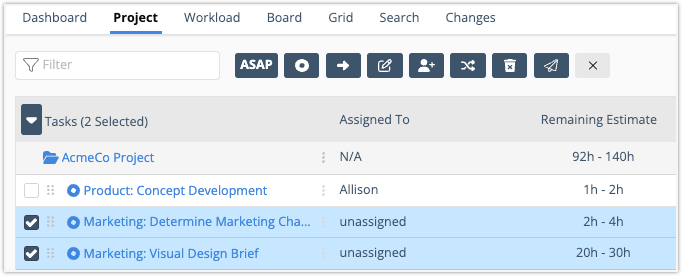
The Bulk Editor is the fastest way to update tasks in new projects. Navigate to Project View, then check boxes on the left to engage the Bulk Editor and reveal action buttons at the top of the view.
Edit Task fields and properties including Target Start and Target Finish.
Add Assignments to bulk assign and estimate work across tasks.
Swap Assignments and give “unassigned” work to your Members, Resources or Placeholders.
Delete tasks you don’t need.
To learn more see the Bulk Edit & and Move lesson.


